A few years back a friend at work bought a kit for a custom mechanical keyboard. I was immediately interested in building my own, but could not find a keyboard with the specs I was looking for, at least not for the price I was willing to pay…
I’m a engineer with that likes DIY electronics projects so I decided to design my own keyboard. I did some research, and in a few months I managed to build my first custom keyboard. There was a lot of work but I’m very proud of the result and this was my daily driver at work for 1-2 years, until I made my next version.
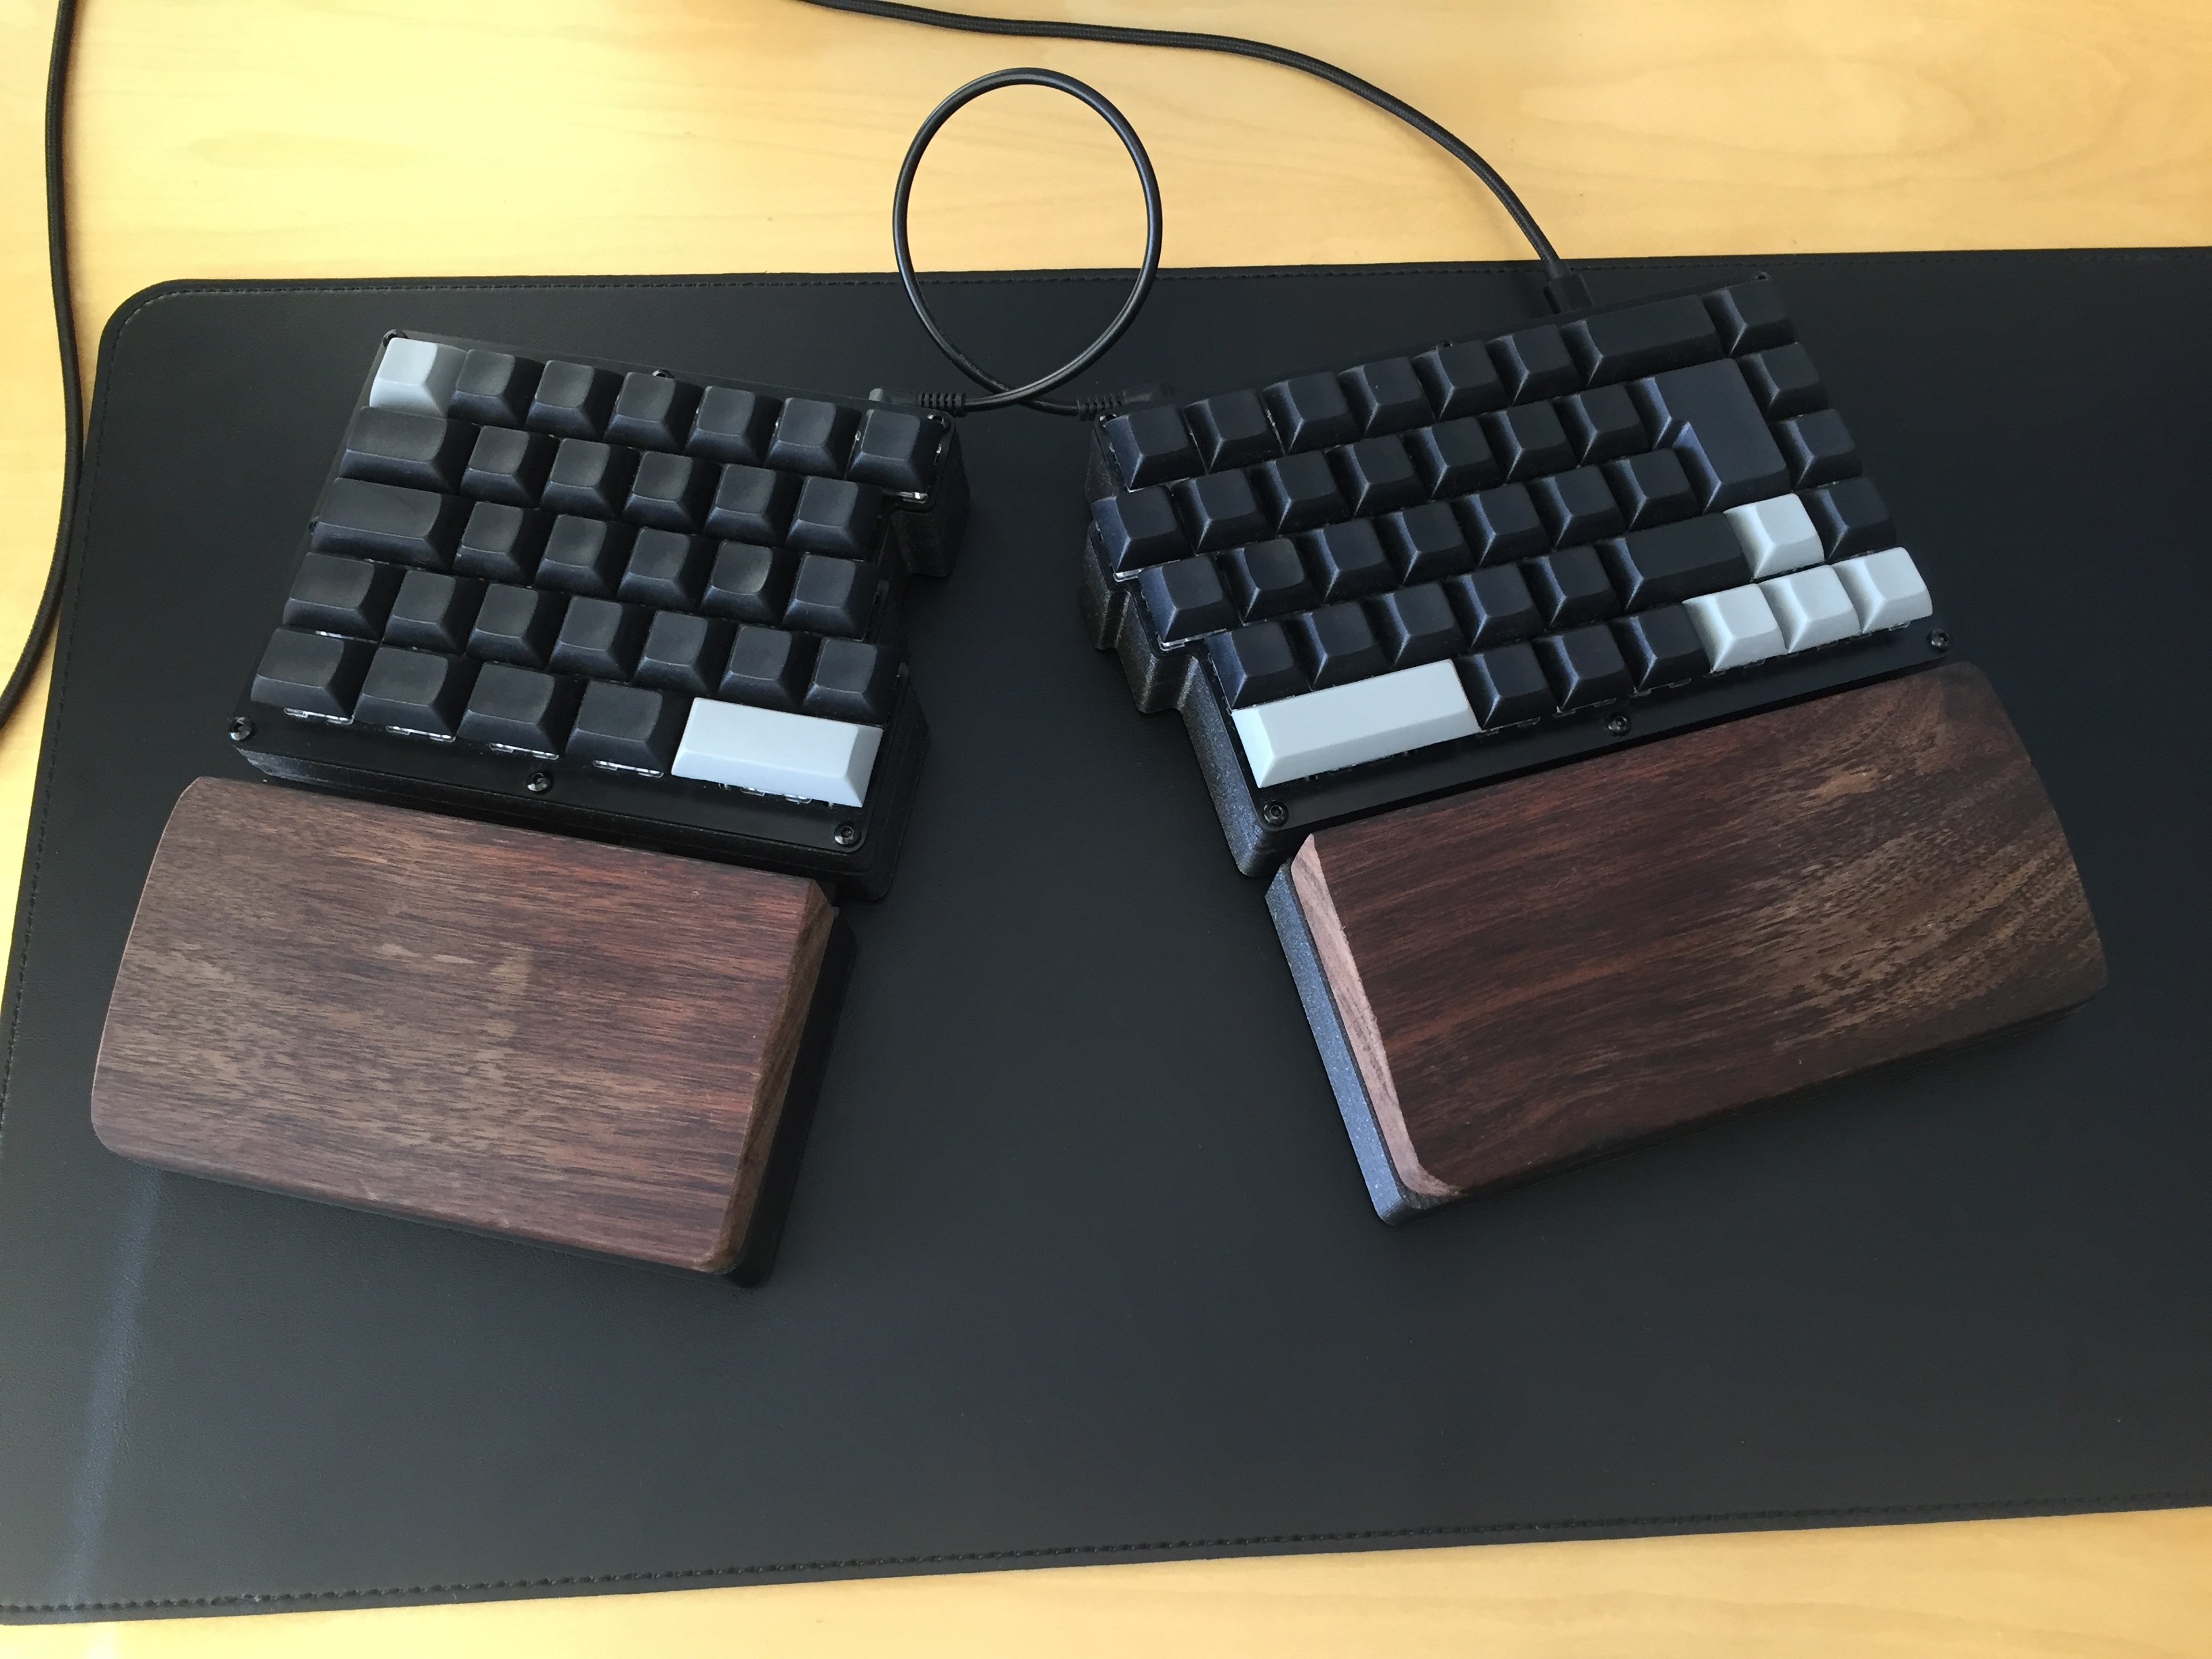
Specification:
- 65% ISO layout
- Custom PCB using the Elite-C microcontroller
- 3D-printed case with wrist-rest addon
My first version used through hole components to make it easy to solder everything by hand.
Numpad
Quickly I got more interested in improving my PCB design, so I started to throw together a matching numpad with the purpose to improve my PCB design skills. I also wanted to use exclusively SMD components, integrated microcontroller and RGB backlight, just for fun… This resulted in the numpad below. 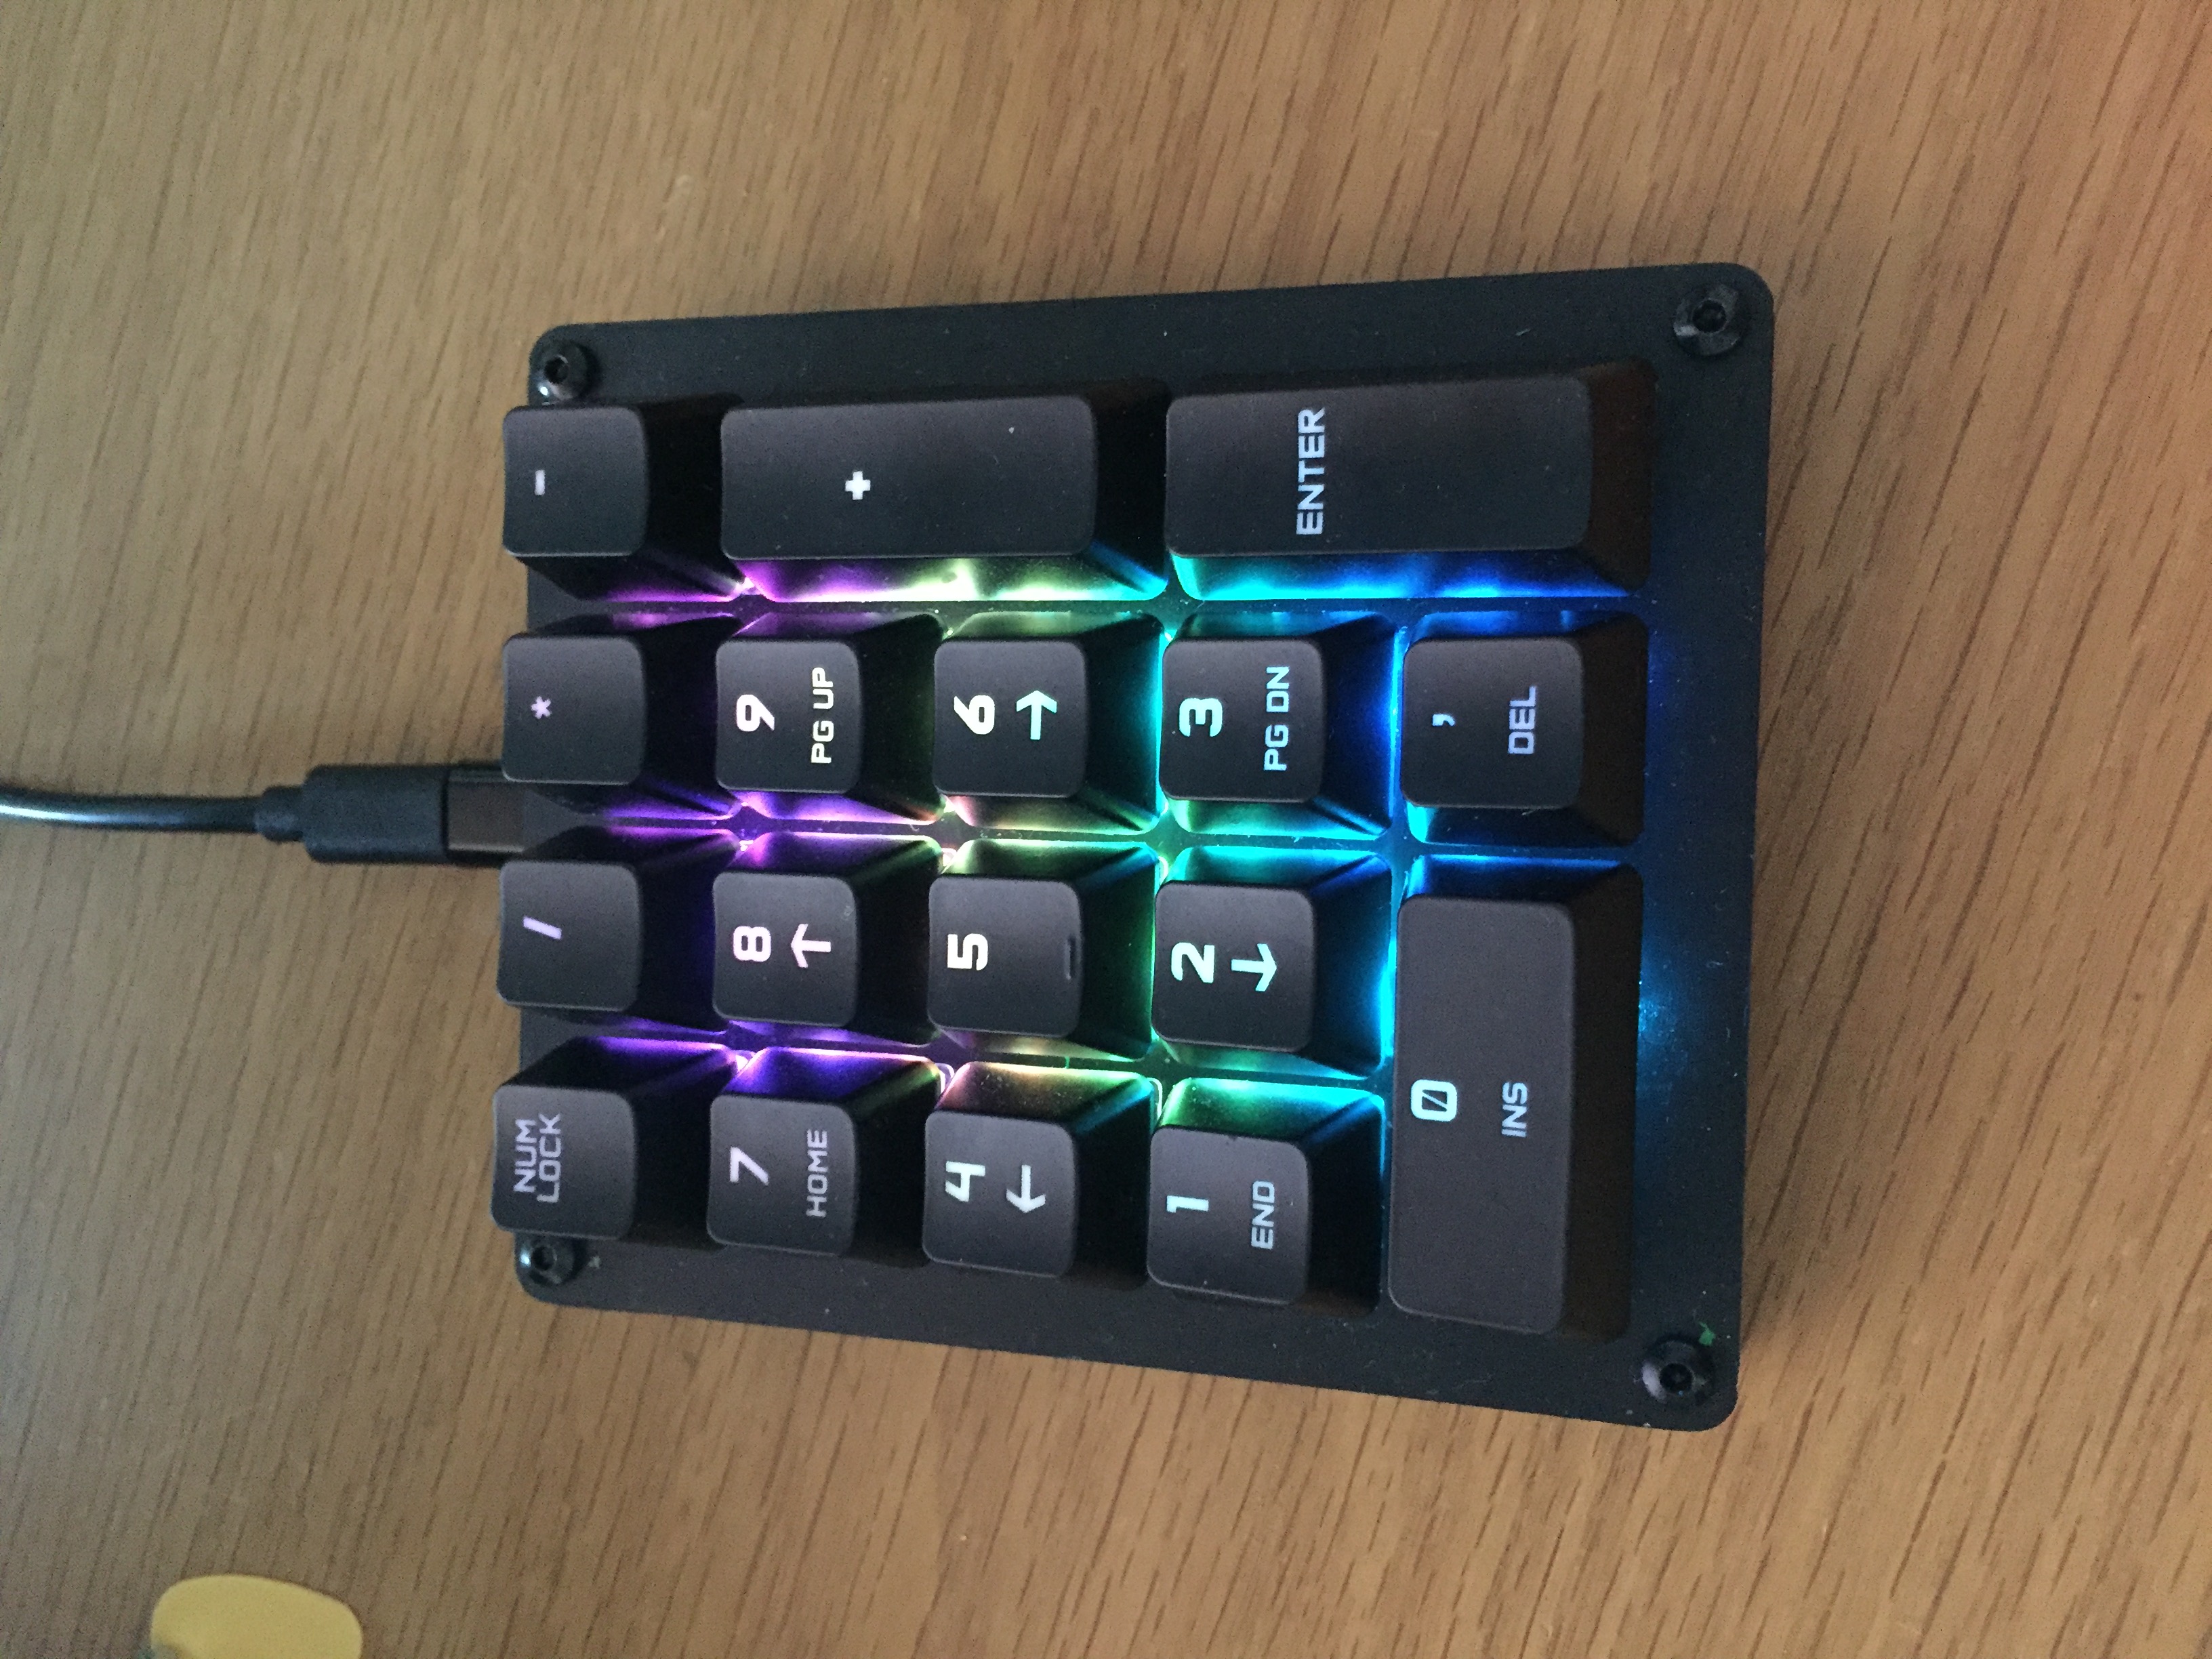
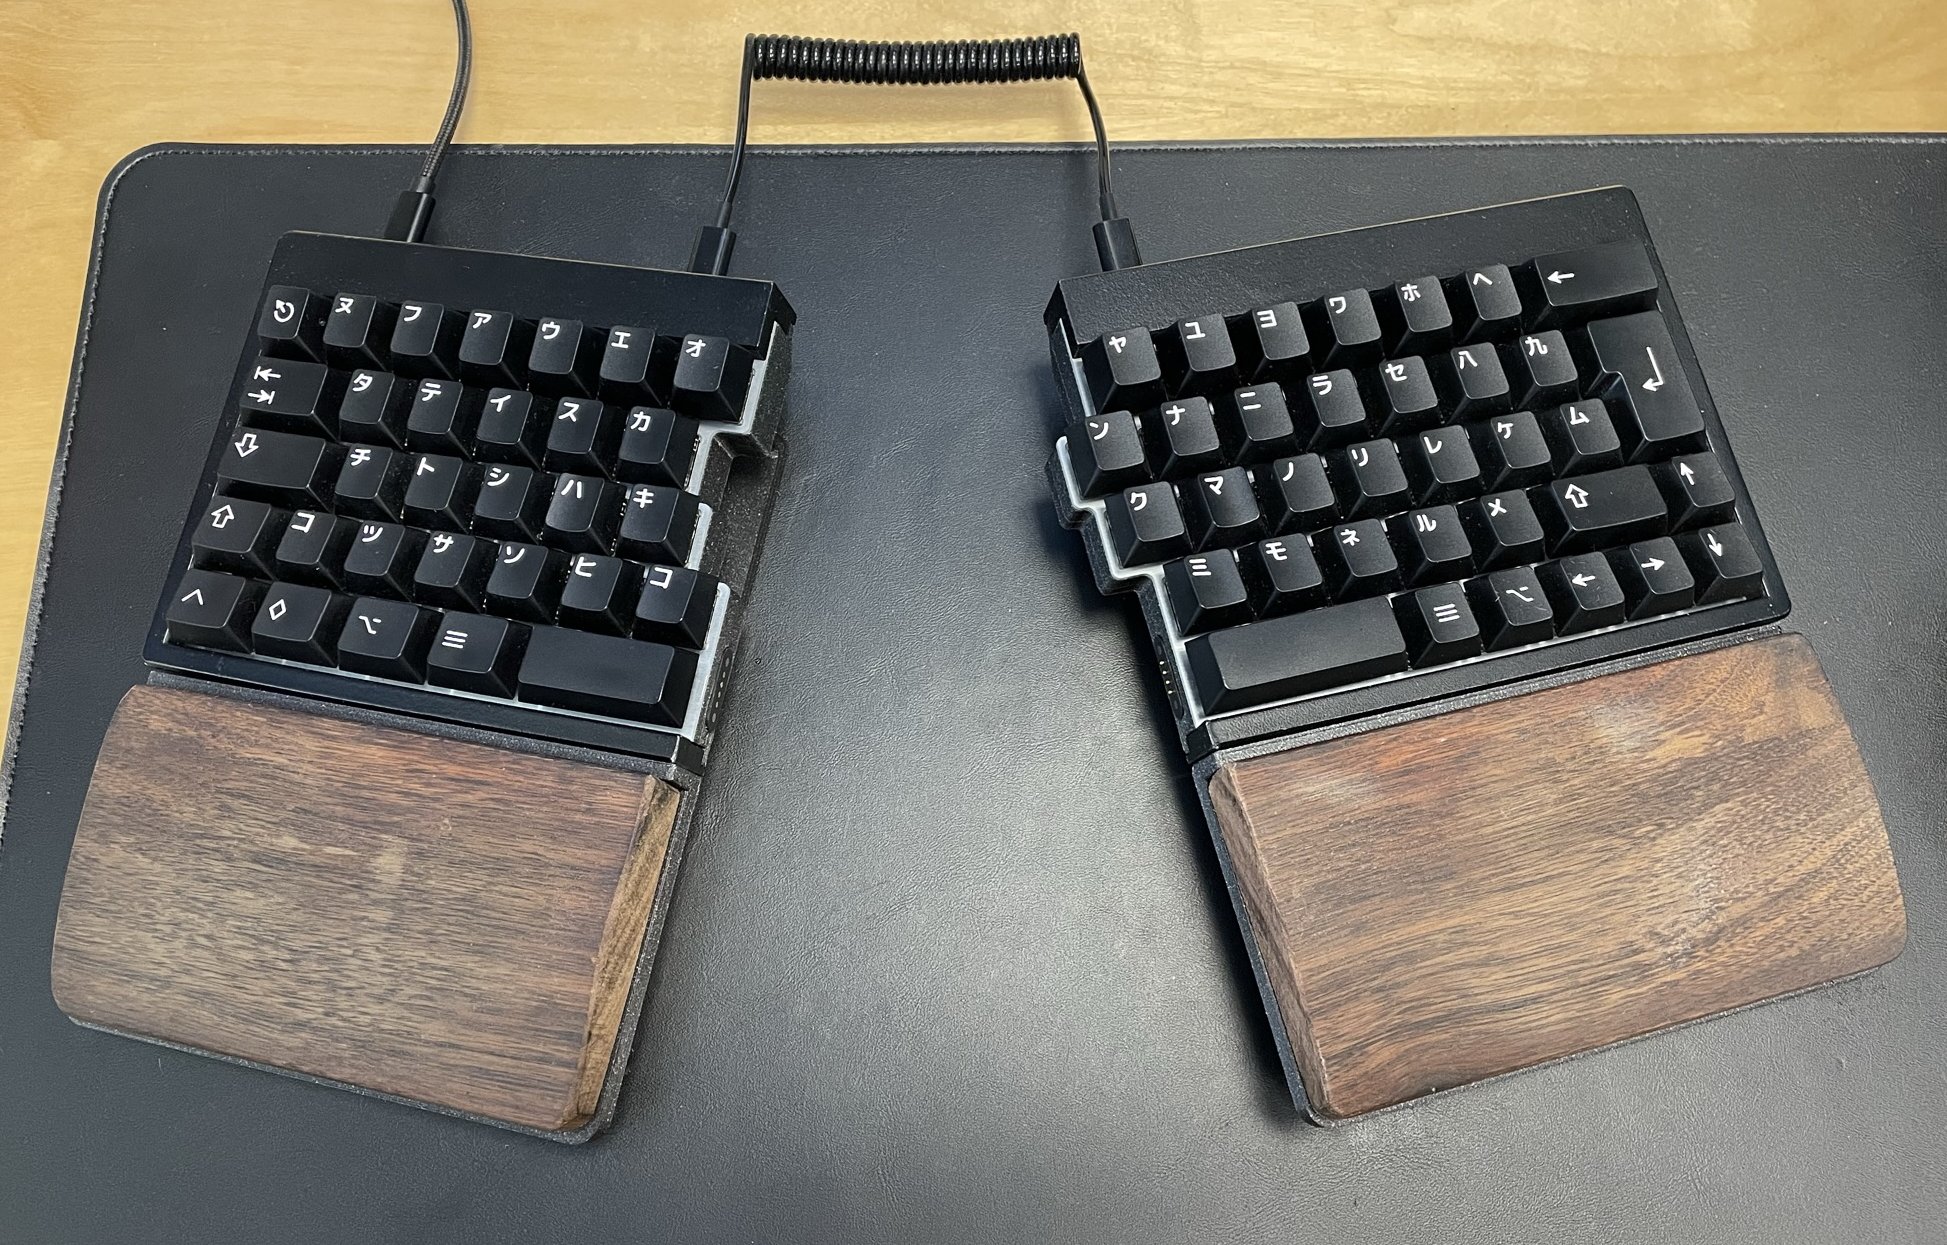
LS65
After this I knew I wanted to make a new improved version of my first design, but at this point I had lost some motivation for this project and didn’t want to put the time in since my first design was working very well. However, after a while I got back to it and on and off for about a year I worked on the LS65. As all DIY:ers know, actually finishing a project is the hardest thing. I feel like I have been very close to finishing the LS65 for a long time now, but there is always something more you want to do with it.
Anyways, here it is in all its glory! The keycaps in the image are the Drop katakana set that I managed to get for a decent price on a sale.